
· 6 min read
Real Estate Photography Checklist | Hig.Media
By Tracey Higginbotham · Updated
Real Estate Photography Checklist: Get Your Home Photo-Ready
The best way to prepare a home for real estate photography is to clean thoroughly, clear surfaces, finish staging, and prepare outdoor spaces before the photographer arrives. Focus on anything visible in the camera’s view: countertops, floors, windows, furniture, landscaping, and the driveway.
For Florida homes, give pools, covered patios, balconies, and waterfront views the same attention as the interior. These spaces help buyers understand how they could enjoy the property.
This real estate photography checklist gives homeowners and agents across the Treasure Coast and The Palm Beaches a practical plan for getting ready, from the day before the shoot to the final walkthrough.
Start with the rooms that shape the first impression
Walk through the home as if you were seeing it for the first time. Look for distractions that pull attention away from the space itself: a crowded kitchen island, tangled cords beside the sofa, or furniture blocking a doorway.
The goal is to make the home’s layout and features easy to see while keeping the setting welcoming.
Kitchen
- Clear countertops of mail, cleaning supplies, and excess appliances.
- Remove magnets, calendars, and personal photos from the refrigerator.
- Empty the sink and put away dishes, sponges, and drying racks.
- Wipe down appliances, cabinet fronts, and reflective surfaces.
- Move trash cans out of view.
- Keep styling simple, such as a bowl of fruit or a small arrangement.
A clear island allows its size, finish, and relationship to the surrounding room to come through.
Living and dining areas
Straighten furniture, fluff cushions, and tidy throws. Clear coffee tables and dining tables of everyday items, leaving only a few intentional decorative pieces.
Turn off televisions and tuck away visible cords where practical. Check that furniture does not obstruct natural walking paths or hide architectural features.
Bedrooms and bathrooms
Make beds neatly and smooth visible wrinkles. Clear nightstands of chargers, tissues, and personal items, and move laundry baskets out of sight.
In bathrooms, remove toiletries from counters and showers, clean mirrors, close toilet lids, and hang fresh towels neatly. Small rooms benefit from especially simple preparation because everyday items occupy more of the frame.
Prepare Florida’s outdoor living spaces
A covered lanai, pool deck, or balcony deserves its own preparation pass. Treat it like another room in the home.
For example, a patio with arranged seating and a clear table communicates its purpose more clearly than one filled with storage bins and cleaning equipment.
Pool, patio, and balcony checklist
- Arrange outdoor furniture and straighten cushions.
- Clean visible tabletops and glass doors.
- Put away hoses, pool toys, and loose maintenance supplies.
- Skim visible debris from the pool.
- Sweep the patio or balcony.
- Open access to outdoor areas that will be photographed.
For homes with water or landscape views, clear movable items that block the sightline. Clean glass can also help the view read more clearly from inside.
At the front of the property, move vehicles out of the driveway and away from the home when practical. Put bins out of view, sweep the entrance, and remove temporary clutter such as deliveries or garden tools.
If aerial photography is part of the appointment, consider what will be visible from above. Yard clutter and items around the pool may be more noticeable from that perspective.
Explore HigMedia’s real estate photography and aerial services when planning which spaces and features to capture.
Finish preparation before the appointment
Photography time works best when cleaning and staging are already complete. Moving clutter from room to room during the shoot can interrupt the sequence, particularly when photography, video, and a 3D tour are scheduled together.
Choose a storage area in advance and confirm whether it needs to appear in the final media. A garage may work for temporary storage, but only if it is outside the planned coverage.
The day before the appointment:
- Complete cleaning and furniture placement.
- Replace burned-out bulbs where practical.
- Put away valuables, sensitive documents, and personal photographs you do not want visible online.
- Confirm access to every space included in the shoot.
- Arrange a comfortable place for pets away from the active shooting areas.
- Tell the photographer about important features, access restrictions, or unfinished work.
On shoot day, open interior doors to rooms that need coverage, turn off televisions and ceiling fans, and follow the photographer’s guidance on lights, blinds, and window coverings.
Avoid last-minute changes based on assumptions about lighting. The best setup can vary by room, window direction, and the conditions outside.
Match the preparation to the media you ordered
Still photography, walkthrough video, and 3D tours show a property in different ways.
A still photograph presents one selected view. Video moves through a space. A 3D tour lets viewers explore connected viewpoints. Preparing the entire planned route helps maintain a consistent presentation across those formats.
Before the appointment, confirm:
MediaPreparation priority
Interior photography
Clear surfaces, neat furnishings, and access to each planned room
Walkthrough video
Clear walking paths and consistent preparation between connected spaces
3D tour
Prepare every area included in the tour and remove personal items throughout
Aerial photography
Tidy visible grounds, driveway, pool area, and outdoor storage
Twilight photography
Check exterior lighting and prepare outdoor spaces before the scheduled session
Hig.Media offers photography, aerials, video, Zillow 3D tours and floor plans, and twilight photography for properties throughout the Treasure Coast and The Palm Beaches. You can review the available options on the services page.
Frequently asked questions about preparing for listing photos
Should homeowners be present during real estate photography?
Homeowners can help with access and questions about the property. Once the session begins, staying clear of the rooms being photographed helps the photographer work through the home. Confirm the preferred arrangement before the appointment.
Should all lights be turned on for real estate photos?
Check that the lights work, then follow the photographer’s direction. The preferred lighting setup depends on the room, available daylight, and the look being created.
Do closets and garages need to be prepared?
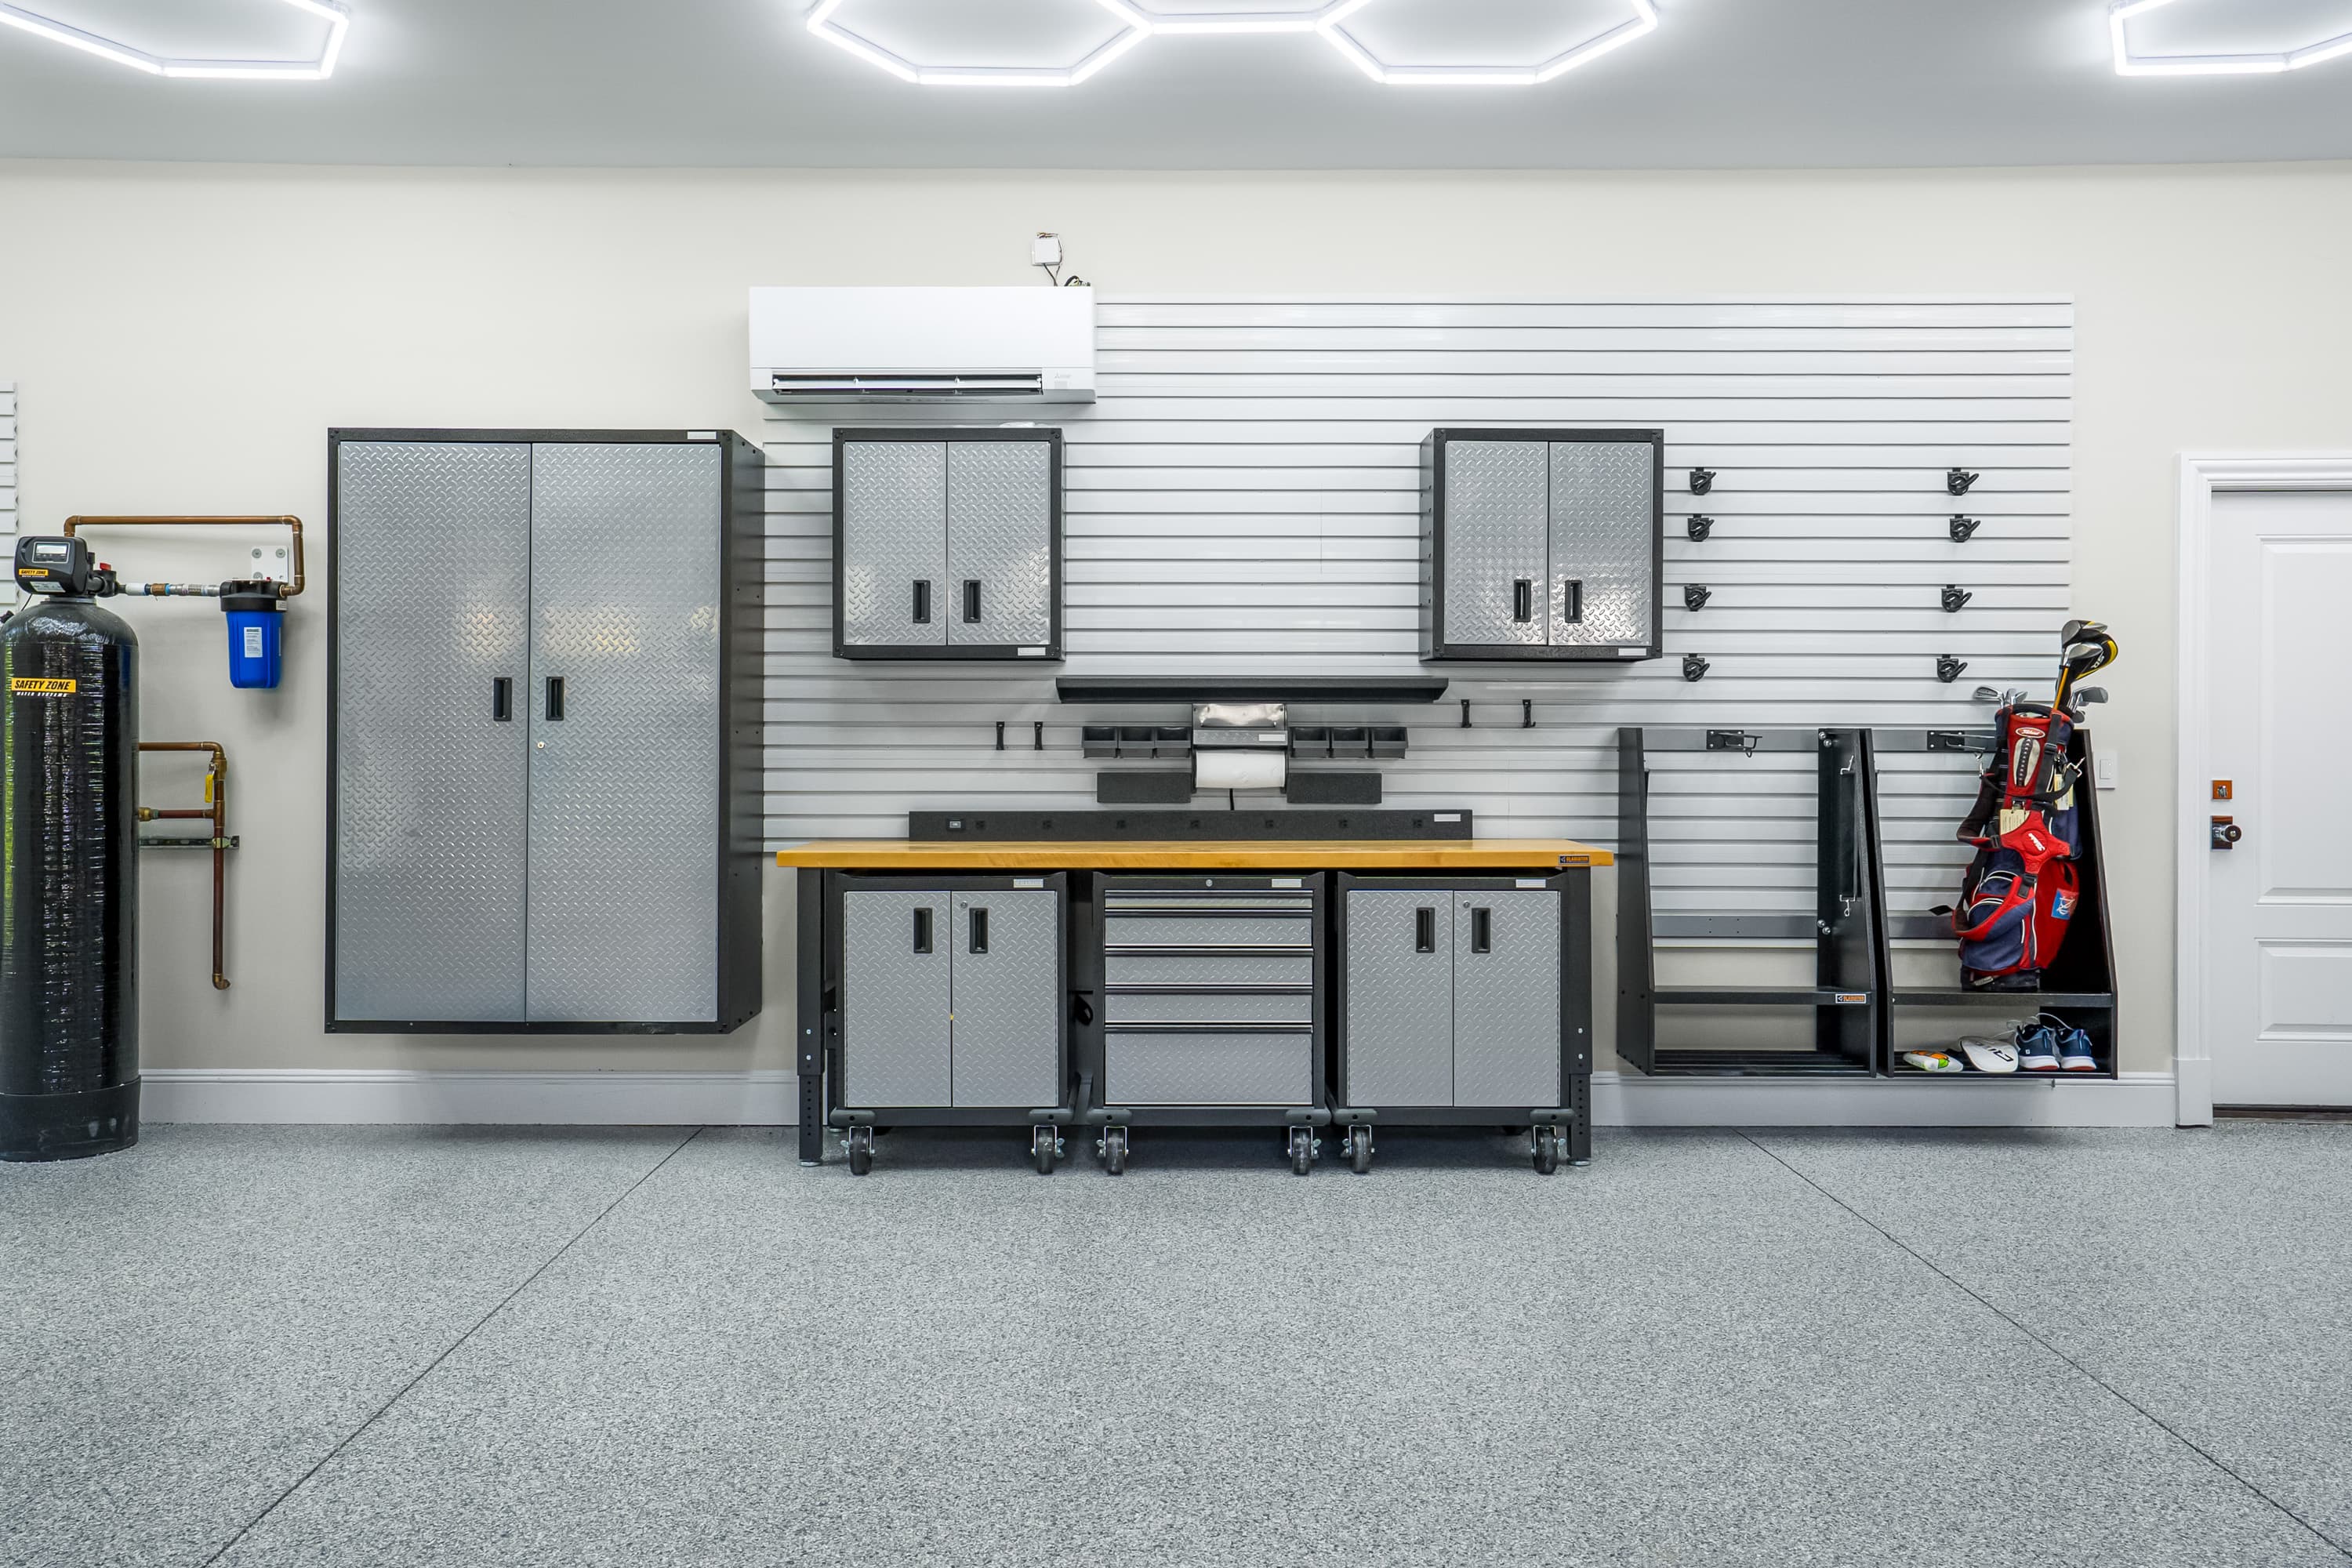
Confirm whether those spaces are included. A custom closet, organized garage, or workshop may be an important feature worth showing. Avoid using a planned photography space as temporary storage.
What happens if it rains?
Contact the photographer to discuss the conditions and planned coverage. Interior, exterior, aerial, and twilight work can have different weather considerations. Confirm the plan before moving appointments or making assumptions about what can be completed.
Can clutter be removed during editing?
Prepare the physical space before the shoot whenever possible. Do not assume editing includes removing belongings or changing the property’s appearance. Discuss any specific editing requests in advance.
Give your listing a prepared first impression
Before the photographer arrives, take one final walk from the front entrance through the home and into the outdoor living areas. Check for the easy-to-miss items: a charging cable, a bathroom bin, a pet bowl, or a car still in the driveway.
A prepared property gives the photographer more time to focus on composition, light, and the features that make the home distinctive.
Planning a listing on Florida’s Treasure Coast or in The Palm Beaches? Contact Hig.Media to plan your shoot.